In Blog Post 1, I talked about the foundations of delivering a super personalised experience to customers using Optimzely products.
In this post we’ll discuss the first pillar – Segmentation. Specifically, the technical implementation which sets the foundations for the super powerful Segmentation of your customer base.
Use Optimizely’s Data Platform (ODP) to harmonise data creating a 360 view of the customer from all channels (online, in-store, historical, real time, etc) and your extended Product data.
With ODP you can create Segments of customers who have similarities with regard to their characteristics, preferences, site engagement, behaviours and brand interactions.
When you reconcile your Customer data with your Product Catalog to indicate what type of interests your visitors have based on their behaviour – you have a very powerful Segmentation tool.
Integrate ODP with Optimizely B2C Commerce
There are two core ODP data entities you should enhance in ODP with data from your B2C Commerce system:
- Products
- Customers
Products
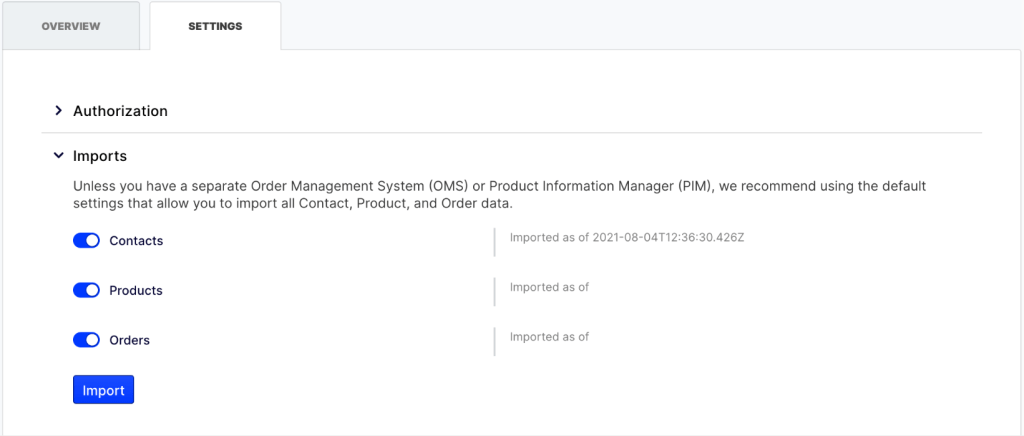
ODP contains a number of pre-built product connectors, one of which is the Commerce Cloud connector. It is a no-code connector that communicates with your Commerce Cloud website via the Service API.

The Commerce Cloud connector will synchronise your Core Product Data between Commerce Cloud and Product entities stored in ODP. By core product data I am referring to Product Code, Name, Image, Variants.
To enable more advanced Segmentation capabilities based on the type of products your customers are interacting with, you should enhance your product data with additional attributes stored against the products in your Catalog.
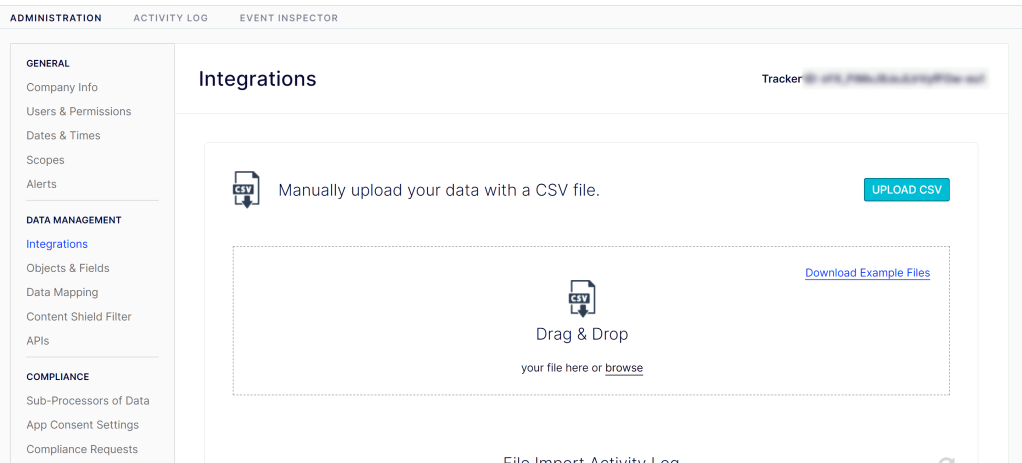
Consider creating a scheduled job to push your enhanced attribute to ODP via batch requests to the Products API.
Customers
I have covered an approach to integrating Customers in a previous blog post so won’t go into detail here but feel free to check this article out:
https://johnnymullaney.com/2022/06/14/integrating-optimizely-data-platform-for-gdpr-compliance/
ODP Set Up
This section assumes your technical integration is in place and we will now proceed to create a Segment based on our customers interaction with the enhanced Product Catalog.
In our example, we will create a Segment of Customers who have viewed Products where the product has a custom attribute called “Team” and the value of that property is equal to “Manchester United”
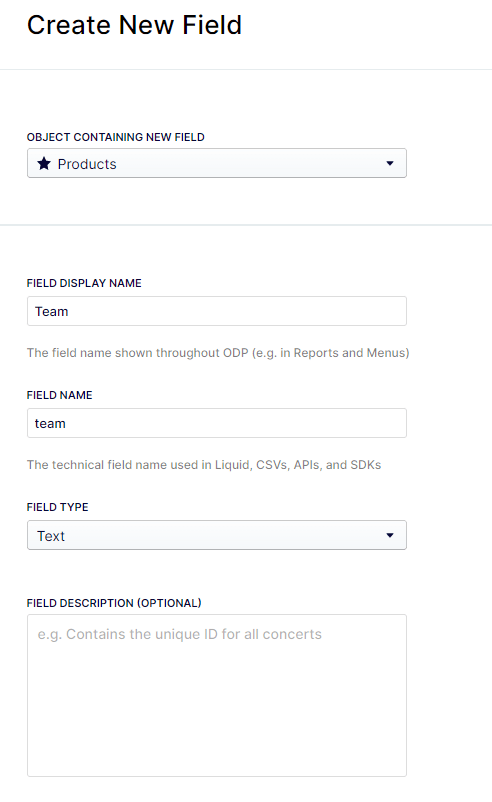
Add “Team” Product Attribute Field
Log into ODP as an Administrator and proceed to
Settings -> (Data Management) Objects & Fields -> Products
Click Create New Field and Add your Team field to the Product object
Segment Set Up
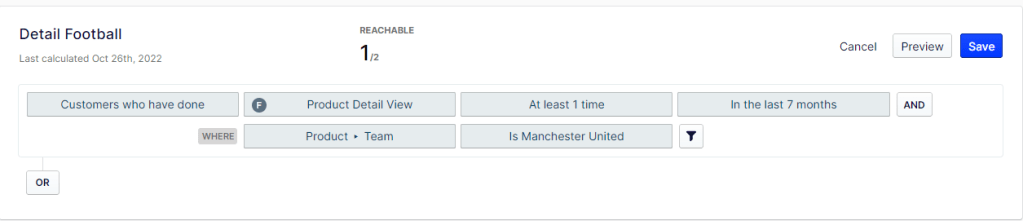
Go to the Segments interface and create a new Segment.
First set customers who have done the Product Detail View event.
Then add a Where Filter on the Product associated with this event so only products with “Manchester United” team values are associated with the segment.
As long as there are products in your catalog whose Team is “Manchester United” – auto complete will suggest this value. Super Easy! 🙂
Conclusion
The ODP integration explained above gives you a super flexible system to enhance Segmentation capabilities based on the type of products your customers are interacting with.
In the next post in the series, I’ll talk about using a Customers Segment Profile to provide a personalised experience across Web and Email channels.